Why Tracing Every Pattern Line Can Get in the Way
Selective pattern marking keeps embroidery guides useful without crowding the cloth, so you can choose stitches freely and leave fewer marks to remove.
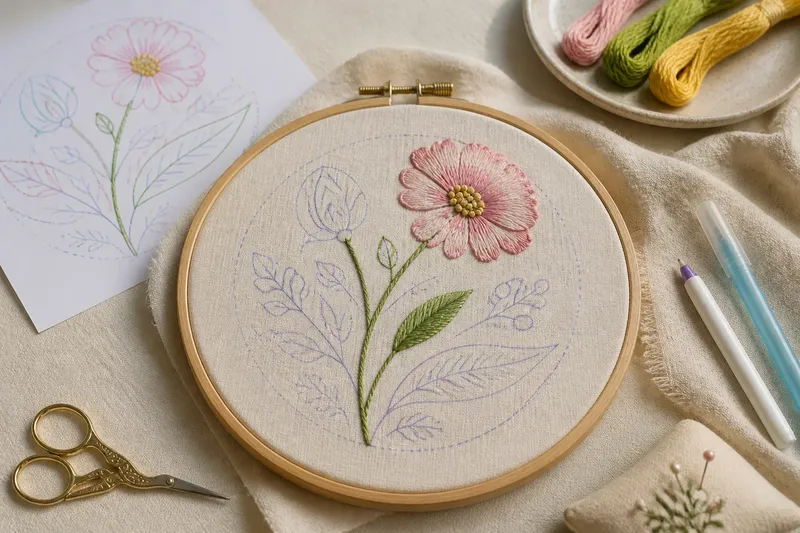
Tracing every pattern line can make embroidery harder, not easier: selective pattern marking keeps the cloth clear enough for stitches to do their job. A printed flower may include a centre, petal divisions, decorative veins and a border, but those details do not all need to become permanent-looking guides on the fabric.
1. Mark the route, not the decoration
Start by identifying the lines that define the design’s outer shape or the path a stitch must follow. These are the guides most likely to affect placement. Small internal details can often be worked by eye once the main forms are stitched.
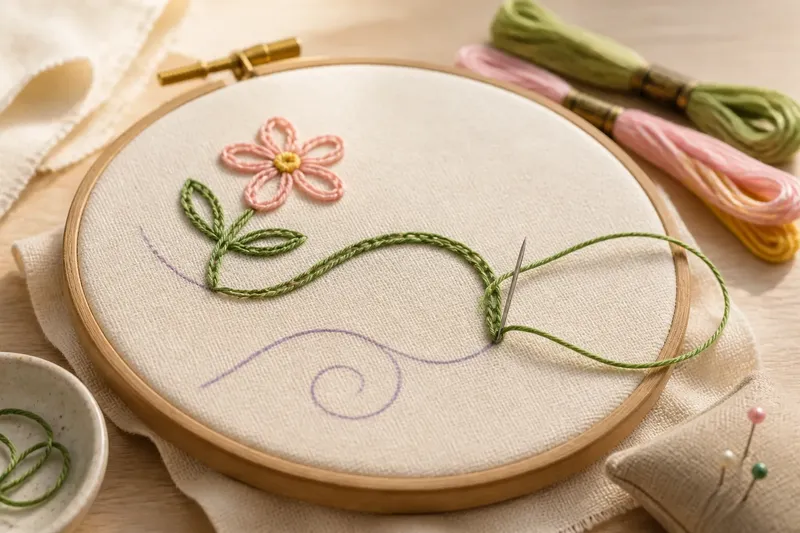
For a curved stem, for instance, mark the stem’s centre line rather than tracing both edges. A line of backstitch or stem stitch can follow that route, while its width comes from the thread and stitch tension. Drawing both edges may leave you with two competing boundaries and a narrow strip to fill precisely.
Before transferring anything, look at the pattern and ask: if this line were absent, would I still know where the next part belongs? If the answer is yes, leave it off for now.
2. Give filled areas breathing room
Dense marks beneath a filled shape can be difficult to see and may show through open stitches. They can also tempt you to follow every internal division, even when your chosen fill would look smoother without them.
For satin stitch, mark the shape’s outline and, if needed, a small centre point to help keep the stitches aligned. Skip printed shading and individual directional strokes unless they are essential to the design. For long-and-short stitch, a few boundary cues may be enough; the thread changes can create the shading without a drawn map for each section.
If a shape has several colour areas, mark only the boundaries that matter to the colour placement. You can leave subtle transitions to your stitching rather than turning each printed tonal change into a hard line.
3. Match marks to stitch choices
A pattern shows an image, but it does not always dictate how to stitch it. One printed line might be worked as a narrow line of stem stitch, a row of tiny detached stitches or the edge of a filled motif. Marking every line too firmly can lock in a choice before you have considered the thread, scale and fabric.
Decide the stitch for each major feature first. Then transfer only the guide that stitch needs: a centre line for a linear stitch, an outline for a filled shape, or a few placement dots for separate motifs. Keep optional details on the paper pattern so you can refer back without crowding the cloth.
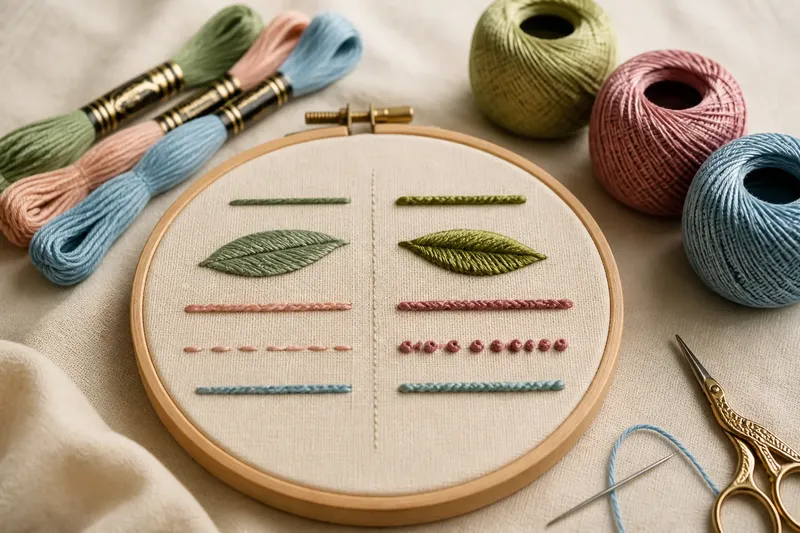
Say you are stitching a small leaf with a printed vein and several internal marks. You choose fishbone stitch for the leaf and a fine line stitch for the central vein. Mark the leaf outline and vein, but omit the little side marks; the stitch direction supplies that structure, leaving the fabric cleaner and the leaf less divided.
4. Test what the fabric can show
Fabric weave and colour change how much transferred detail remains visible. On pale cotton, a fine removable mark may be easy to read; on textured linen, a narrow line can disappear between threads. Dark cloth may need a suitable light transfer medium, while delicate fabric may not tolerate pressure from a tracing tool.
Check the chosen marking method on a scrap of the same fabric before transferring the design. See whether the mark is visible at your usual working distance, whether it spreads through the weave and whether it can be removed as intended. Follow the tool maker’s directions, including any limits on heat, water or time before removal.
If a test mark is faint, do not automatically trace every detail more heavily. Improve visibility by marking only the essential route with a clearer, appropriate tool, or use a placement method that suits the fabric. A bold line may be harder to cover than a light guide is to follow.
5. Keep removal in mind
Every transferred line creates a later decision: cover it, remove it or accept that it may remain visible. Selective marking reduces those decisions, particularly beside open stitches such as chain outlines, eyelets or loosely spaced decorative lines.
Think about stitch coverage before drawing. If a line will sit beneath solid stitching, it may be practical to transfer it. If it will fall beside a narrow outline, leave it out unless it is needed for accurate placement. When the design has small details, use a few dots or short dashes rather than a continuous line that could peek through gaps.
It is not worth marking every stitch as a separate dash unless the design truly depends on exact spacing. That level of tracing can make the fabric look busy and slow down decisions that are easy to make as you stitch.
6. Use a partial transfer
Transfer the design in passes instead of treating the first tracing as final. Begin with the silhouette and major placement guides. As those parts are stitched, add a missing mark only if you find that you need it and can still place it cleanly.
This approach is especially useful for overlapping motifs. Mark the front shape clearly, then add only the visible portions of a shape behind it. There is no need to transfer an entire hidden edge that will be covered by the foreground stitching.
Keep the paper pattern beside the hoop and use it to check proportions, motif order and omitted details. The cloth needs enough information to guide the work, not a duplicate of every line on the page.
Pattern marking questions?
Which pattern lines should I transfer?
Transfer outlines, centre lines and placement points that directly guide the stitches you plan to use. Leave decorative or redundant marks on the paper unless they are needed to keep the design recognisable.
Can I add details after stitching begins?
Yes, if the fabric is still accessible and your marking method suits it. Add only the guide you have discovered you need, and avoid drawing across finished stitches or areas that could be stained.
What if a printed line is hard to see?
Check the pattern at your working distance and use a suitable transfer method on a fabric scrap before proceeding. If the line remains unclear, mark a few useful reference points rather than tracing a heavy continuous guide.
Leave room for the needle
Selective pattern marking gives each stitch space to shape the design. For your next embroidery pattern, identify the essential routes, transfer those first and keep the rest on paper until the cloth gives you a reason to add them. That small pause can preserve both a cleaner surface and your freedom to adjust the stitching as the design takes form.